
Valorant Sage Guide: Pro Tips and Tricks
By Charlene on Jan 22nd, 2024, 03:16

In this guide on how to play as Sage, we'll go in-depth into the nuances of playing Sage in Valorant, equipping you with the knowledge and tactics to level up your gameplay.
So, whether you're a beginner looking to understand the basics or an experienced player aiming to refine your skills, this Valorant guide is a great pathway to excelling with this agent!
C - Barrier Orb. EQUIP a barrier orb. FIRE places a wall that fortifies after a few seconds. ALT FIRE rotates the targeter.

Q - Slow Orb. EQUIP a slowing orb. FIRE to throw a slowing orb forward that detonates upon landing, creating a lingering field that Slows players caught inside of it. Slow Orb ability forces opponents to rethink their rush strategies, making them easy targets.

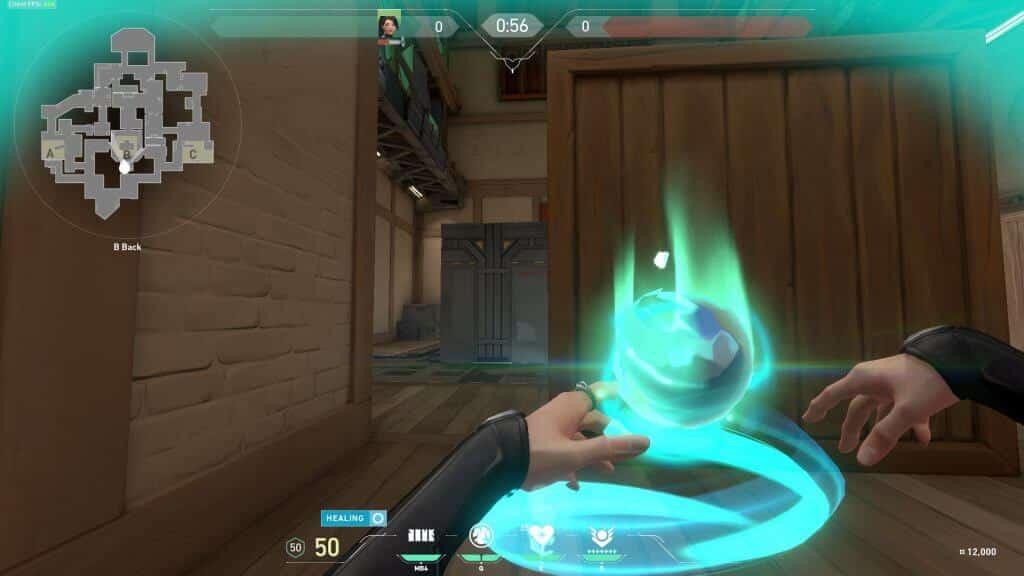
E - Healing Orb. EQUIP a healing orb, her signature ability. FIRE with your crosshairs over a damaged ally to activate a Heal-Over-Time on them. ALT FIRE while Sage is damaged to activate a self Heal-Over-Time.

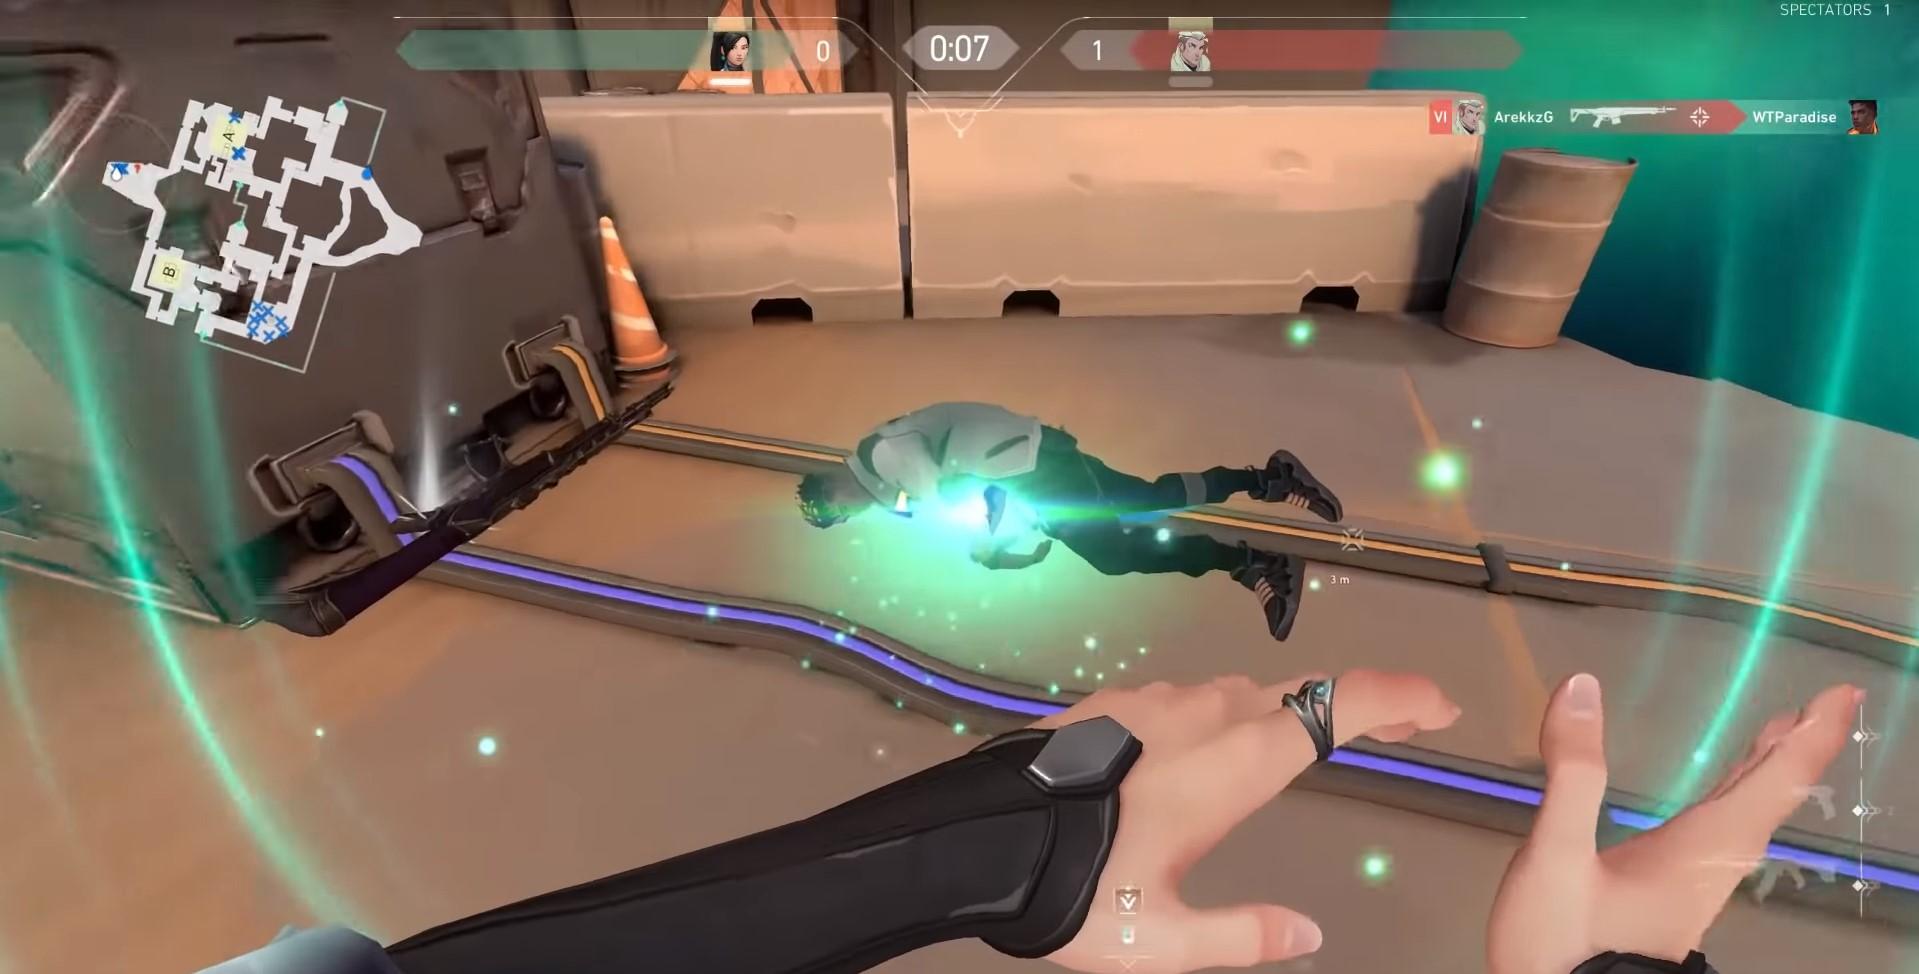
X - Resurrection. EQUIP a resurrection ability. FIRE with your crosshairs placed over a dead ally to begin resurrecting them. After a brief channel, the ally will be brought back to life with full health. Sage's ultimate ability is a game-defining ability that can swing the match's outcome.

Sage's abilities in Valorant are a blend of defensive and supportive tools that, when used correctly, can massively influence the outcome of a match.
This section provides a detailed look at how to use Sage's abilities, offering insights into their optimal use and discussing effective ability combos for various situations.
Sage's Barrier Orb can be used for blocking enemy paths, creating safe planting or defusing zones, and even crafting unexpected elevated angles for your team.
The key is to place the wall in a way that either fortifies a position or disrupts the enemy's strategy. It's also vital to consider the timing; deploying the wall too early might waste it, while too late could be ineffective.
Combine Sage's wall with other agents' abilities for enhanced defense or offense. For instance, use it with Killjoy's turret for an elevated line of sight or place it to funnel enemies into a chokepoint where Raze can deploy her explosives.
Sage's Slow Orb is perfect for stopping enemy team rushes, defending spike sites, or covering a retreat. Use it at chokepoints, spike sites, or commonly rushed areas. The orb forces enemies to either wait out its duration or make noise while moving through it, giving your team an advantage.
Pair the Slow Orb with area-damage abilities like Brimstone's Molotov or Phoenix’s Hot Hands to inflict significant damage on slowed enemies. It's also effective when used in conjunction with Viper's toxic screen or gas to create a hazardous zone.
Sage's Healing Orb should primarily be used to heal teammates, with self-healing as a secondary priority. Prioritize healing for duelists or key players in critical moments. Be mindful of your surroundings before initiating the healing, as it can leave both you and your teammate vulnerable.
While there are no direct combos with the Healing Orb, coordinating its use with your team's entry fraggers or duelists can ensure they are always battle-ready. Communicating cooldown times with your team is also crucial so they can play accordingly.
Resurrection is one of the most impactful ultimates in the game. Use it to bring back high-impact players or to turn the tide in a crucial round. It's essential to ensure the area is safe before attempting a resurrection, as it can leave both Sage and the resurrected player vulnerable.
Coordinate with your team to secure the area before using Resurrection. Utilize abilities like Omen's smoke or Cypher's Cyber Cage to provide cover. Post-resurrection, be prepared to immediately cast Barrier Orb or Slow Orb to protect your newly revived teammate.
Barrier Orb and Slow Orb for Area Denial: Deploy Barrier Orb to block a path and follow up with Slow Orb at the alternate route. This combo can effectively funnel enemies into a predictable path, making it easier for your team to defend.
Healing Orb During Strategic Retreats: Use Healing Orb to quickly restore the health of a teammate who has just won a duel, allowing them to reengage or safely retreat. This is especially effective during spike defense scenarios.
Resurrection with Protective Abilities: When using Resurrection, combine it with protective smokes or walls from your teammates to ensure a safe revival. Immediately after reviving, use Healing Orb on the resurrected teammate if they are not at full health.
In Valorant, Sage's role as a Sentinel is pivotal, blending the responsibilities of area control, team support, and site defense. This section delves into the multifaceted responsibilities and advantages of playing Sage, highlighting how she can be a game-changer in the right hands.
Sage's healing and resurrection abilities are her most significant contributions to the team. However, they require more than just a quick click. Timing and prioritizing who to heal or resurrect can turn a losing round into a win.
Maximizing Sage's Healing Orb requires a strategic approach beyond simply restoring health. It's about assessing who needs healing the most and when. In the heat of a battle, it might be tempting to immediately heal any injured teammate, but prioritizing is key. Duelists who are at the front lines or teammates holding critical positions might need the healing more urgently.
Also, consider the health percentage; a slightly wounded player might not need immediate healing compared to one who is critically low.
Another aspect is timing. Healing during a firefight can be risky; hence, it's often better to find a safe spot or wait for a lull in combat. Remember, while healing, both you and your teammate are temporarily vulnerable, so it’s crucial to ensure relative safety before initiating the healing.
When it comes to Resurrection, it's about choosing the right moment and the right teammate to bring back. The best times to use Resurrection are either during a critical round where the revived teammate can change the game or when you can safely bring back a player without the risk of immediate elimination. Reviving a teammate in an unsafe or unsecured location can result in both of you getting picked off, nullifying the advantage.
Before using Resurrection, ensure the area is clear or have a teammate cover you. It's also wise to have a plan post-resurrection, like immediately casting a Barrier Orb to protect the revived teammate or retreating to a safer position.
Protecting yourself while using these abilities is paramount. Always be aware of your surroundings. If you're about to heal or resurrect, glances around or having a teammate watch your back can prevent you from being an easy target. In some cases, using your Slow Orb can provide a temporary safeguard, slowing down any enemy that might rush you while you're occupied. Communication with your team is also critical. Let them know when you're about to perform these actions so they can cover you or advise against it if it's too risky.
The Barrier Orb can be used creatively in various scenarios. From securing spike plants to creating unexpected angles for your team to exploit, the Barrier Orb has myriad uses. This section will explore advanced tactics for Barrier Orb placement, including how to use it offensively and defensively, depending on the game's flow.
Mastering Sage in Valorant involves not just understanding her abilities but also knowing the best spots to utilize them for maximum impact. The Barrier Orb (Wall) and Slow Orb are critical in controlling the map and aiding your team.
This section provides a comprehensive look at the most effective Wall and Slow Orb spots across different maps in Valorant.
A Site: Use the Wall to block the entrance from A Main or to create an angle over the top at A Garden.
Mid Market: A vertical Wall can block the entrance from Mid, giving your team control over this crucial area.
B Site: Place the Wall to block the Hookah entrance or to create a barrier between the site and Long.
A Short: Use the Wall to block vision from A Short to A Site, or diagonally for a surprise angle.
C Site: Wall off the entrance from Garage to C Site or use it to block the C Long sightline.
A Site: A diagonal Wall from A Site to A Short can provide excellent cover for planting or defusing.
B Heaven: Place the Wall to block the entrance from Mid to B Heaven, controlling mid-map movement.
A Ramps: A well-placed Wall can cut off vision from A Tower, giving your team the advantage.
B Site: Use the Wall to block off the entrance from B Green or to create a raised platform for unexpected angles.
A Site: Wall off the sightline from A Belt to A Site, allowing safe planting or retake maneuvers.
B Main: Slow Orb the entrance to delay pushes or set up for picks.
Mid Catwalk: A well-timed Slow Orb can halt enemy advances and secure mid control.
B Long: Use the Slow Orb to prevent fast rushes from B Long into B Site.
A Showers: A Slow Orb here can stall enemy pushes or assist in retaking control.
C Long: Slow Orb the entrance to disrupt enemy pushes and provide time for your team to rotate.
A Lobby: Perfect for delaying enemy movements into A Site or setting up for ambushes.
B Garage: Slow Orb the entrance to disrupt enemy timings and gain an advantage.
A Main: Use it here to prevent quick pushes and gather information without direct engagement.
Mid Boiler: A well-placed Slow Orb can control mid-map movements and delay enemy strategies.
A Green: Use it to slow down enemy advances from A Green to A Site, giving your team time to position.
Sage's strength lies not only in her abilities but also in her positioning. On each map, there are strategic spots where Sage can maximize her impact – whether it's defending a bomb site with her Barrier Orb or securing a crucial flank with the Slow Orb.
Understanding the map layout and being aware of enemy positions is key. Sage players must constantly assess the situation, adapting their positioning to support the team effectively.
Theory is one thing, but practice makes perfect. Mastering Sage in Valorant requires a blend of skill, strategy, and teamwork. Throughout this guide, we've explored the many facets of playing Sage, from understanding her abilities to implementing advanced tactics.
Keep practising, analyzing your gameplay, and learning from each match, and if you're looking to take it one step further, why not get Valorant coaching for Sage on WeCoach? Our coaches are here to take your Valorant game to the next level.
Set specific drills and exercises to enhance your Sage gameplay by focusing on improving aim, ability usage, decision-making, and other critical aspects of playing Sage effectively.
Sage is currently one of the best Valorant agents with the potential to change the course of a game, and with the insights from this guide, you're well on your way to becoming a formidable Sage player in Valorant.

Charlene is an esports journalist and content writer covering competitive League of Legends, Valorant, and more.
View all articles