How to Play Killjoy in Valorant
By Roger on Apr 25th, 2024, 04:27

Welcome to the ultimate guide to mastering Killjoy, one of Valorant's most fascinating and tactically rich agents!

Whether a beginner or an experienced player, this guide provides essential tips and strategies for dominating your Valorant matches as Killjoy.
Let's jump in!


The Alarmbot helps gather information and throw enemies off guard. Place the Alarmbot in choke points or common entry paths to use it.
Besides damage, the debuff amplifies all incoming damage to the affected player, making it a perfect setup for team fights.
When using this ability, remember that timing is crucial; activate it when you anticipate enemy movement for the biggest impact!

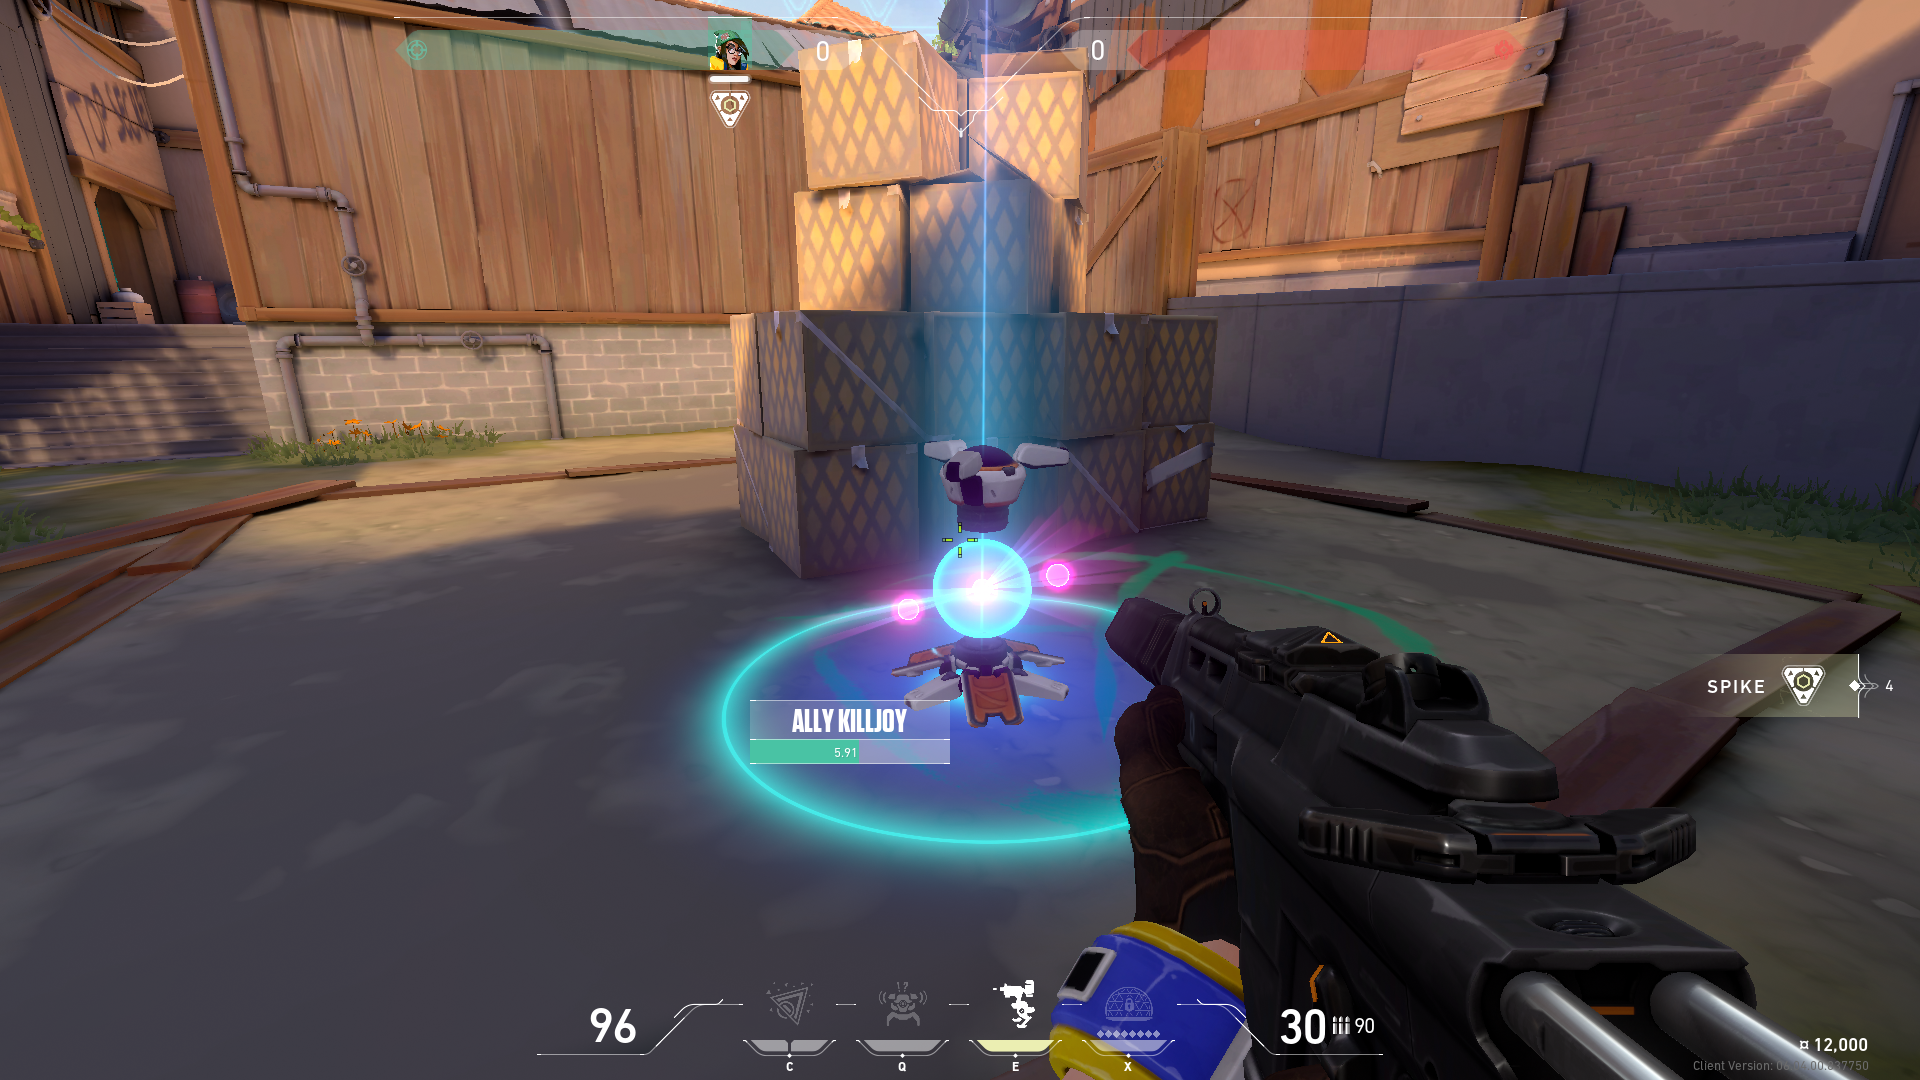
The turret targets enemies in a 180-degree cone of vision, dealing moderate damage and serving two main purposes – surveillance and firepower.
When placing the turret, it's recommended to position it at strategic points that can provide helpful information on enemy movements.
You can also place it where it can cover multiple angles, forcing enemies to deal with it and reveal their position.
Nanoswarm grenades are Killjoy's area denial tools.
Once used, they remain hidden until activated, unleashing a swarm of nanobots that damage all players within their radius.
Use Nanoswarm for post-plant scenarios or to clear out the most common hiding spots. They can be placed on the spike to prevent defusing or used to flush out enemies from cover.
The key is unpredictability; vary your placement to keep opponents guessing and on edge.
After a brief wind-up time, it can detain all enemies in a large radius and is OP when used correctly.
The Lockdown ability is ideal for retaking sites or securing post-plant situations. Place Lockdown in a spot that's hard to destroy but covers the desired area.
Communication with your team is crucial, so coordinate as the timer ticks down.
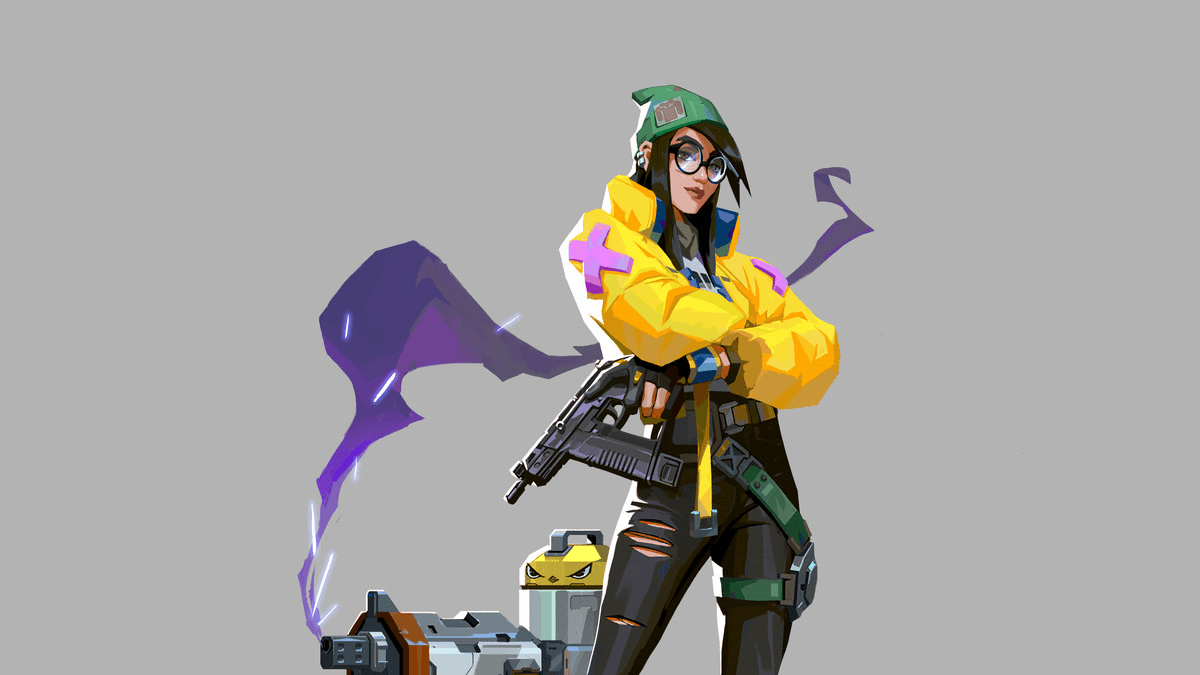
Killjoy is a great Sentinel agent for area control, information gathering, and anchoring sites. Her abilities were designed to allow her to create zones of safety and threat, making her perfect for attacking and defending.
As a Sentinel, Killjoy's primary responsibility is safeguarding critical areas of the map, locking down sites, denying enemy entry, and retaking control.
With her Turret and Alarmbot, Killjoy can monitor multiple angles, providing her team with information about enemy movements. This helps them prepare for fights and make strategic decisions.
Another aspect of Killjoy's Valorant role is her capability in area denial. Her Nanoswarms are a powerful tool for keeping enemies at bay or clearing them out of crucial areas. This ability becomes particularly valuable in post-plant situations, where she can prevent or delay defuses, or during retakes, where she can flush out enemies.
Killjoy's ultimate Lockdown further enhances her role as a Sentinel. It can be a game-winning tool during close rounds, either by clearing enemies from a site or making it difficult for them to push into an area.
One of Killjoy's advantages is that she can change the game's flow without directly fighting. For example, her gadgets can pressure the enemy, forcing them to be cautious and sometimes even deter them from pushing certain areas. This control allows her team to focus on other areas of the map.
Furthermore, Killjoy's abilities can offer some flexibility in the sentinel playstyle. She can be played aggressively, using her abilities to push and secure areas, or defensively, using her gadgets to prevent pushes. This makes her valuable in different game scenarios and adaptable to team compositions and strategies.
Bind is a map where Killjoy can shine due to the tight areas and choke points.
Her Turret and Alarmbot are excellent for monitoring teleporter exits and alerting the team to flanks.
The enclosed sites on Bind also make her Nanoswarm grenades incredibly effective for denying plants or defuses.

Ascent's open mid-area and site layouts cater well to Killjoy's strengths.
Her gadgets can control key areas like Catwalk or B Main, providing her team with essential intel.
The cubbies and corners in Ascent also offer great spots for her Nanoswarm, catching enemies off-guard during pushes or retakes.
Furthermore, Ascent’s multiple entry points to sites allow Killjoy to use her Lockdown effectively to retake or defend a site.
Split is another map where Killjoy can utilize her toolkit.
The map’s narrow pathways and crucial control points like Heaven on both sites allow her to set up her Turret for maximum effect.
Her Alarmbot and Nanoswarm can control tight spaces like Ramps or the entrance to the B Site, making it difficult for enemies to push without getting caught in her traps.
With its three sites, Haven presents some challenges and opportunities for Killjoy.
Her ability to hold a site solo with her gadgets becomes invaluable, especially when the team needs to spread out.
This map's angles and entry points make her Turret and Alarmbot essential for gathering information and alerting to enemy movements.
Her Nanoswarm grenades can be strategically placed in common plant spots across all three sites, making her a constant threat.
Valorant coaching from WeCoach is the next step for players looking to improve their gameplay with Killjoy.
A pro coach's experience can help players counter some of the agent's complexities, such as optimal gadget placements, map-specific strategies, and advanced playstyles.

Roger is an esports journalist and content writer specializing in League of Legends guides, patch analysis, and coaching insights.
View all articles