Ward Like a Pro: Challenger League of Legends Vision Control & Ward Guide
By Charlene on Sep 27th, 2023, 10:21

In every strategic game, seeing more of the map gives you a big edge. Knowing where your opponents are or where they might be lets you make better choices and catch them off guard. Warding is all about putting sentries in smart places to reveal the parts of the map your enemies are moving in.
As you may already know from our beginner's guide to warding, warding is part of League of Legends, a game-changing strategy throughout every stage of the game. It lets you see where your opponents are and what they're planning. Proper warding can reveal enemy strategies, help secure important objectives, and offer valuable info on enemy movements. Getting better at warding makes unclear parts of the map clear and lets teams make smarter, more informed choices.
Smart warding from the start can give your team a significant edge. Here's a detailed look at where you might want to place your wards early in the game, focusing on top, mid, and bot lanes along with the general areas already discussed.
Ally Jungle Entrances: If the enemy team composition is strong at level 1, or they have one or more strong engage champions like Blitzcrank, it's crucial to ward your own jungle to avoid enemy invading.Enemy Jungle Entrances: This gives you insight into the enemy jungler's location, helping lanes avoid surprises and adapt their play.River's Pixel Brushes: Ideal for monitoring enemy movements between lanes and keeping an eye on the Scuttle Crab, a crucial early-game objective.
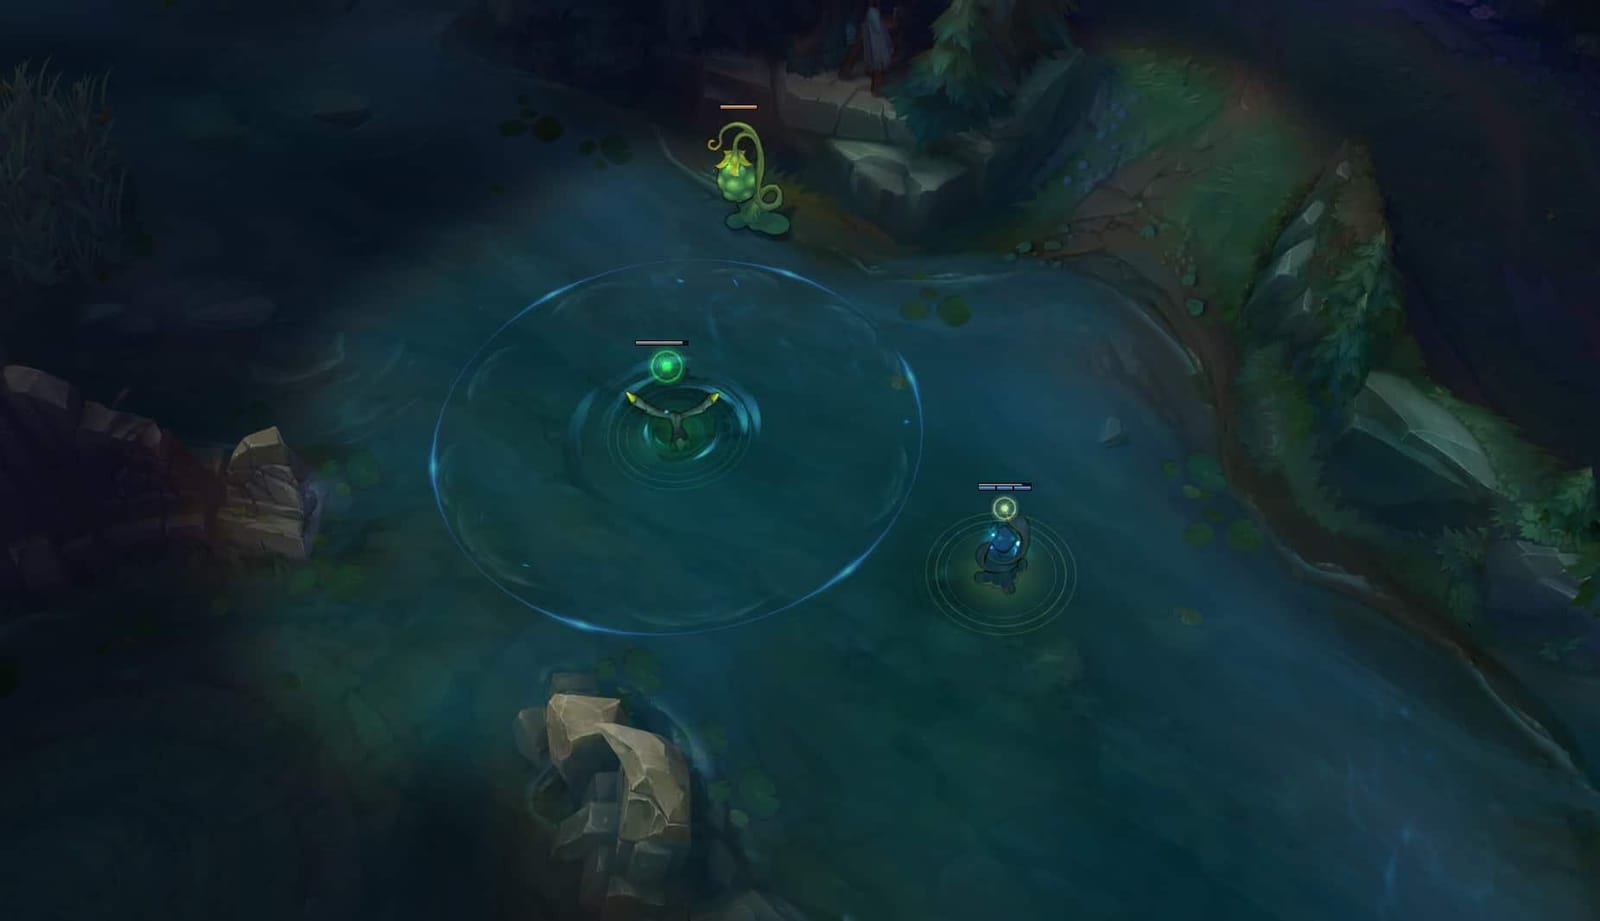
For top laners, a ward placed in the river brush and the enemy's Tri-brush can offer protection against early ganks, especially when pushing the lane. If you are pushed in at the start of the game, consider warding the lane's side bushes to avoid lane ganks.
Example: If you're on the blue side and playing against a jungler who can gank early, like Lee Sin, put a ward in the river brush to avoid a level 3 gank.
Mid laners should focus on warding the side brushes of the lane and the spots where the enemy jungler might come from, such as the raptors' camp or the paths leading from the river. Get vision on one side of the lane and position yourself closer to the warded side to stay safe from ganks.
Example: If you're against a Twitch who might attempt a level 2 gank, use a totem ward in one of the side brushes right after the minions meet.
For bot laners, warding the river brush, the Tri-brush, and the lane bushes can prevent surprise attacks during laning phase. If the enemy has a hook or engage support like Thresh or Leona, you need to ward the lane bush or even put down one control ward to avoid engagements.
Example: If playing against a Jarvan IV who might try to gank early, placing a Control Ward in the river brush or the Tri-brush around 2:50 can help spot him.
Remember, it's not just about seeing the enemy but understanding what they're doing. Deny them vision and manipulate fog of war by using Control Wards or sweepers, too!
The area of the map opens up during mid-game, and objectives become central focal points for skirmishes and team fights. Smart warding during this phase is crucial for maintaining good vision control and gaining information on enemy movements and strategies. Here are several more specific locations to ward like a pro:
Effective warding in these areas during the mid-game can significantly impact your team's ability to make informed decisions, secure objectives, and extend your lead. The revealed information enables your team to pick advantageous fights, make strategic rotations, and control the game's pace. You should decide which side of the map to focus on warding based on if your team is winning or losing at this stage.
Every player should play the warding game and never let the warding totem sit idly. Always adapt your warding strategies based on the game's flow and your team's objectives. Use the gained vision to outmanoeuvre your opponents and secure your path to victory in the mid-game skirmishes. Keep refining your ward placements and stay one step ahead of your enemies to control the battlefield effectively!
Every decision counts in the late game. Knowing where to place your wards can make all the difference. It's crucial to secure vision around major objectives and enemy territories. Here are some specific locations and their rationales:
Remember, the more you know about the enemy's movements and positions in the late game, the better your decisions will be. Strategic warding in these locations allows your team to make informed, impactful plays, anticipate enemy actions, and secure crucial objectives. Keep adapting your warding based on the game's state and your team's needs, and leverage the acquired vision to navigate critical late-game situations effectively.
Every bit of info is crucial in the late game. Smart warding can be the difference between winning and losing. Every role and every player can try to ward over the wall, buy control wards to deny enemy vision, ward in the bush, or even utilize the zombie ward from their runes. It's best to adapt your warding based on what's happening in the game and your team's strategy. By carefully choosing ward locations in the late game, you maximize your chances of securing a victory, even in seemingly dire situations. The revealed information enables your team to make precise, game-altering decisions, potentially turning the tide in your favour. Keep these spots in mind and use them to illuminate your path to victory!
Mistake: Placing wards randomly without considering strategic objectives or enemy movements.Rationale: Wards should be placed with specific intentions, such as securing objectives or gaining vision on enemy paths and rotations.Solution: Before placing a ward, consider your current objectives, enemy positions, and where vision would be most beneficial for your team.
Mistake: Neglecting to secure vision around major objectives like Dragon and Baron Nashor.Rationale: Lack of vision around these crucial areas can lead to objective losses and unfavourable engagements.Solution: Prioritize warding around major objectives, especially when they are up for contention, and use Control Wards and sweepers to deny enemy vision.
Mistake: Only focus on offensive warding and neglect defensive warding in your own jungle.Rationale: Defensive wards are crucial for detecting enemy invades, providing safety for your jungler, and preventing surprise attacks.Solution: Balance both based on the game state, placing defensive wards in your jungle entrances and key paths when under pressure.
Mistake: Placing wards too early or too late relative to the game's objectives and enemy movements.Rationale: Poorly timed wards may expire before providing useful information or be placed too late to prevent enemy plays.Solution: Pay attention to the game's timer, objective respawn times, and enemy movements, and place wards with optimal timing to secure vision when needed.
Mistake: Not purchasing and placing Control Wards throughout the game.Rationale: A Control Ward on the map denies enemy vision and provide permanent vision in an area until destroyed, offering significant strategic value.Solution: Regularly purchase and place Control Wards strategically, prioritizing areas around objectives and high-traffic enemy paths.
Mistake: Continuously warding the same location even when it's being cleared repeatedly.Rationale: Persistently placing wards in the same cleared spot can be resource-inefficient and may not provide valuable information.Solution: Adapt your warding locations based on enemy ward clearing patterns, focusing on securing vision in areas where it will likely persist and provide valuable insights.
By avoiding these common warding mistakes and applying strategic warding principles at the best warding locations, players can maximize the impact of their vision control, make more informed decisions, and enhance their overall gameplay experience. Balancing offensive and defensive warding, adapting ward placements to the game state, and optimizing ward timing are critical components in refining your warding strategy and achieving consistent success on the battlefield.
This detailed guide to warding has depicted the best places to ward around and practical warding tips. Mastering warding in League of Legends is incredibly important, letting you see new possibilities and strategies that elevate your gaming experience. You can gain unparalleled vision and control using these advanced warding strategies, turning every game into a strategic masterpiece. You can read more on our blog if you want to improve warding in League of Legends for specific roles, or find a League of Legends coach to help you excel further.

Charlene is an esports journalist and content writer covering competitive League of Legends, Valorant, and more.
View all articles